You’ve booked your Go Ape USA adventure, you’re ready to go – now let’s make sure your photos look as epic as your adventure will feel! Having amazing photos lets you relive your adventure, plus allows you to share it with friends and family. Who knows, you might even inspire someone else to unleash their wild! You don’t need a fancy camera, any smartphone will allow you to take some breathtaking photos of our treetops (and your squad climbing through them)!
Step 1: Secure Your Phone the Right Way
It may not seem like a big deal, but having your phone properly secured is important for the safety of you, your phone, and even our staff. Falling phones can be a hazard to anyone standing below. That’s why we recommend that you pick up a Go Ape Phone Holder while you’re checking in at the cabin.
TIP: add a phone holder to your online reservation for a smoother check-in process!
Our phone holders are designed to keep your phone secure, allow you to carry your phone hands-free (to make climbing that much easier!), and keep your pockets empty.
Step 2: Prep Your Camera Before Your Climb
Before you get zipping and climbing, remember to prep your camera while you still have both feet on the ground! Here are some tips for the best smartphone photography:
- Clean your lens with a microfiber cloth
- Switch your camera mode to:
- Burst (for ziplines)
- Live (for action timing)
- Video (for mid-zip screenshots)
- Turn off notifications
- Adjust your photo brightness for the forest lighting
These outdoor smartphone photography tips will ensure the best results when photographing your adventure!
Step 3: Use Natural Forest Lighting to Your Advantage
Forest photography naturally has some amazing lighting opportunities! The diffuse lighting through the leaves, the warm sunny glow, and the dappled sunlight all make for amazing photos! Here are some lighting tips for taking ziplining photos:
- Shoot with the sun behind you
- Avoid harsh overhead light
- Use dappled light creatively
- Slightly underexpose your photos to preserve highlights
- Climb in the morning or during Sundown Sessions for the best warm glow
Step 4: Capture The Action (Without the Blur)
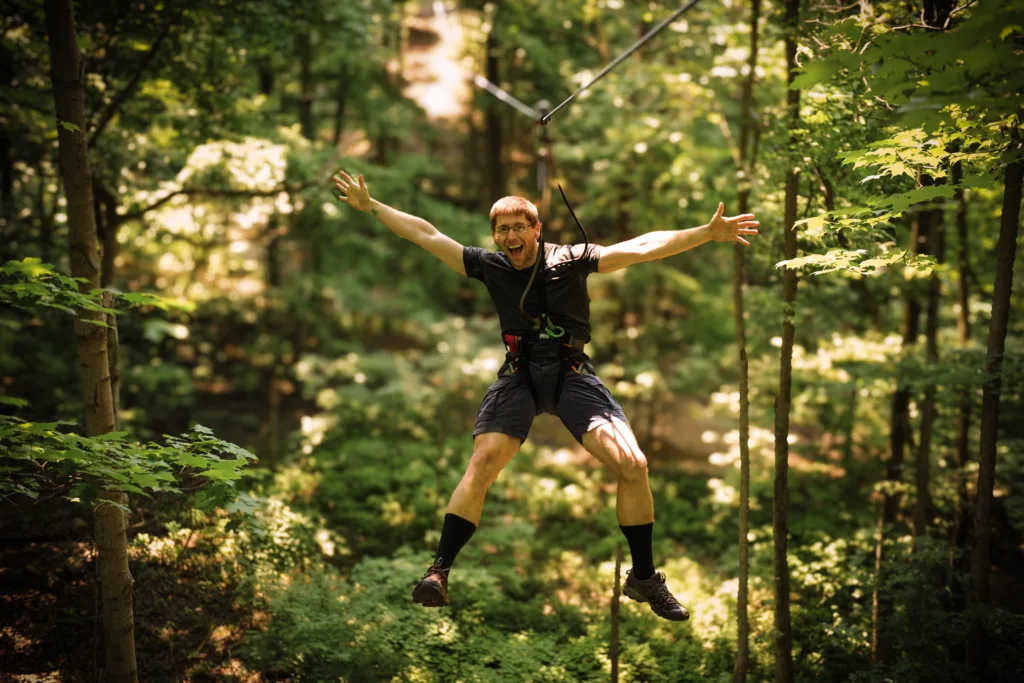
Using the right mode for the right part of your adventure is key for smartphone photography in the trees. Here are some quick tips for sharp pictures on your zips!
- Use burst mode for launch moments, mid-zip reactions, & platform landings
- Focus on faces for emotion
- Move your phone along with the moving zipliner
- Frame wider than you think!
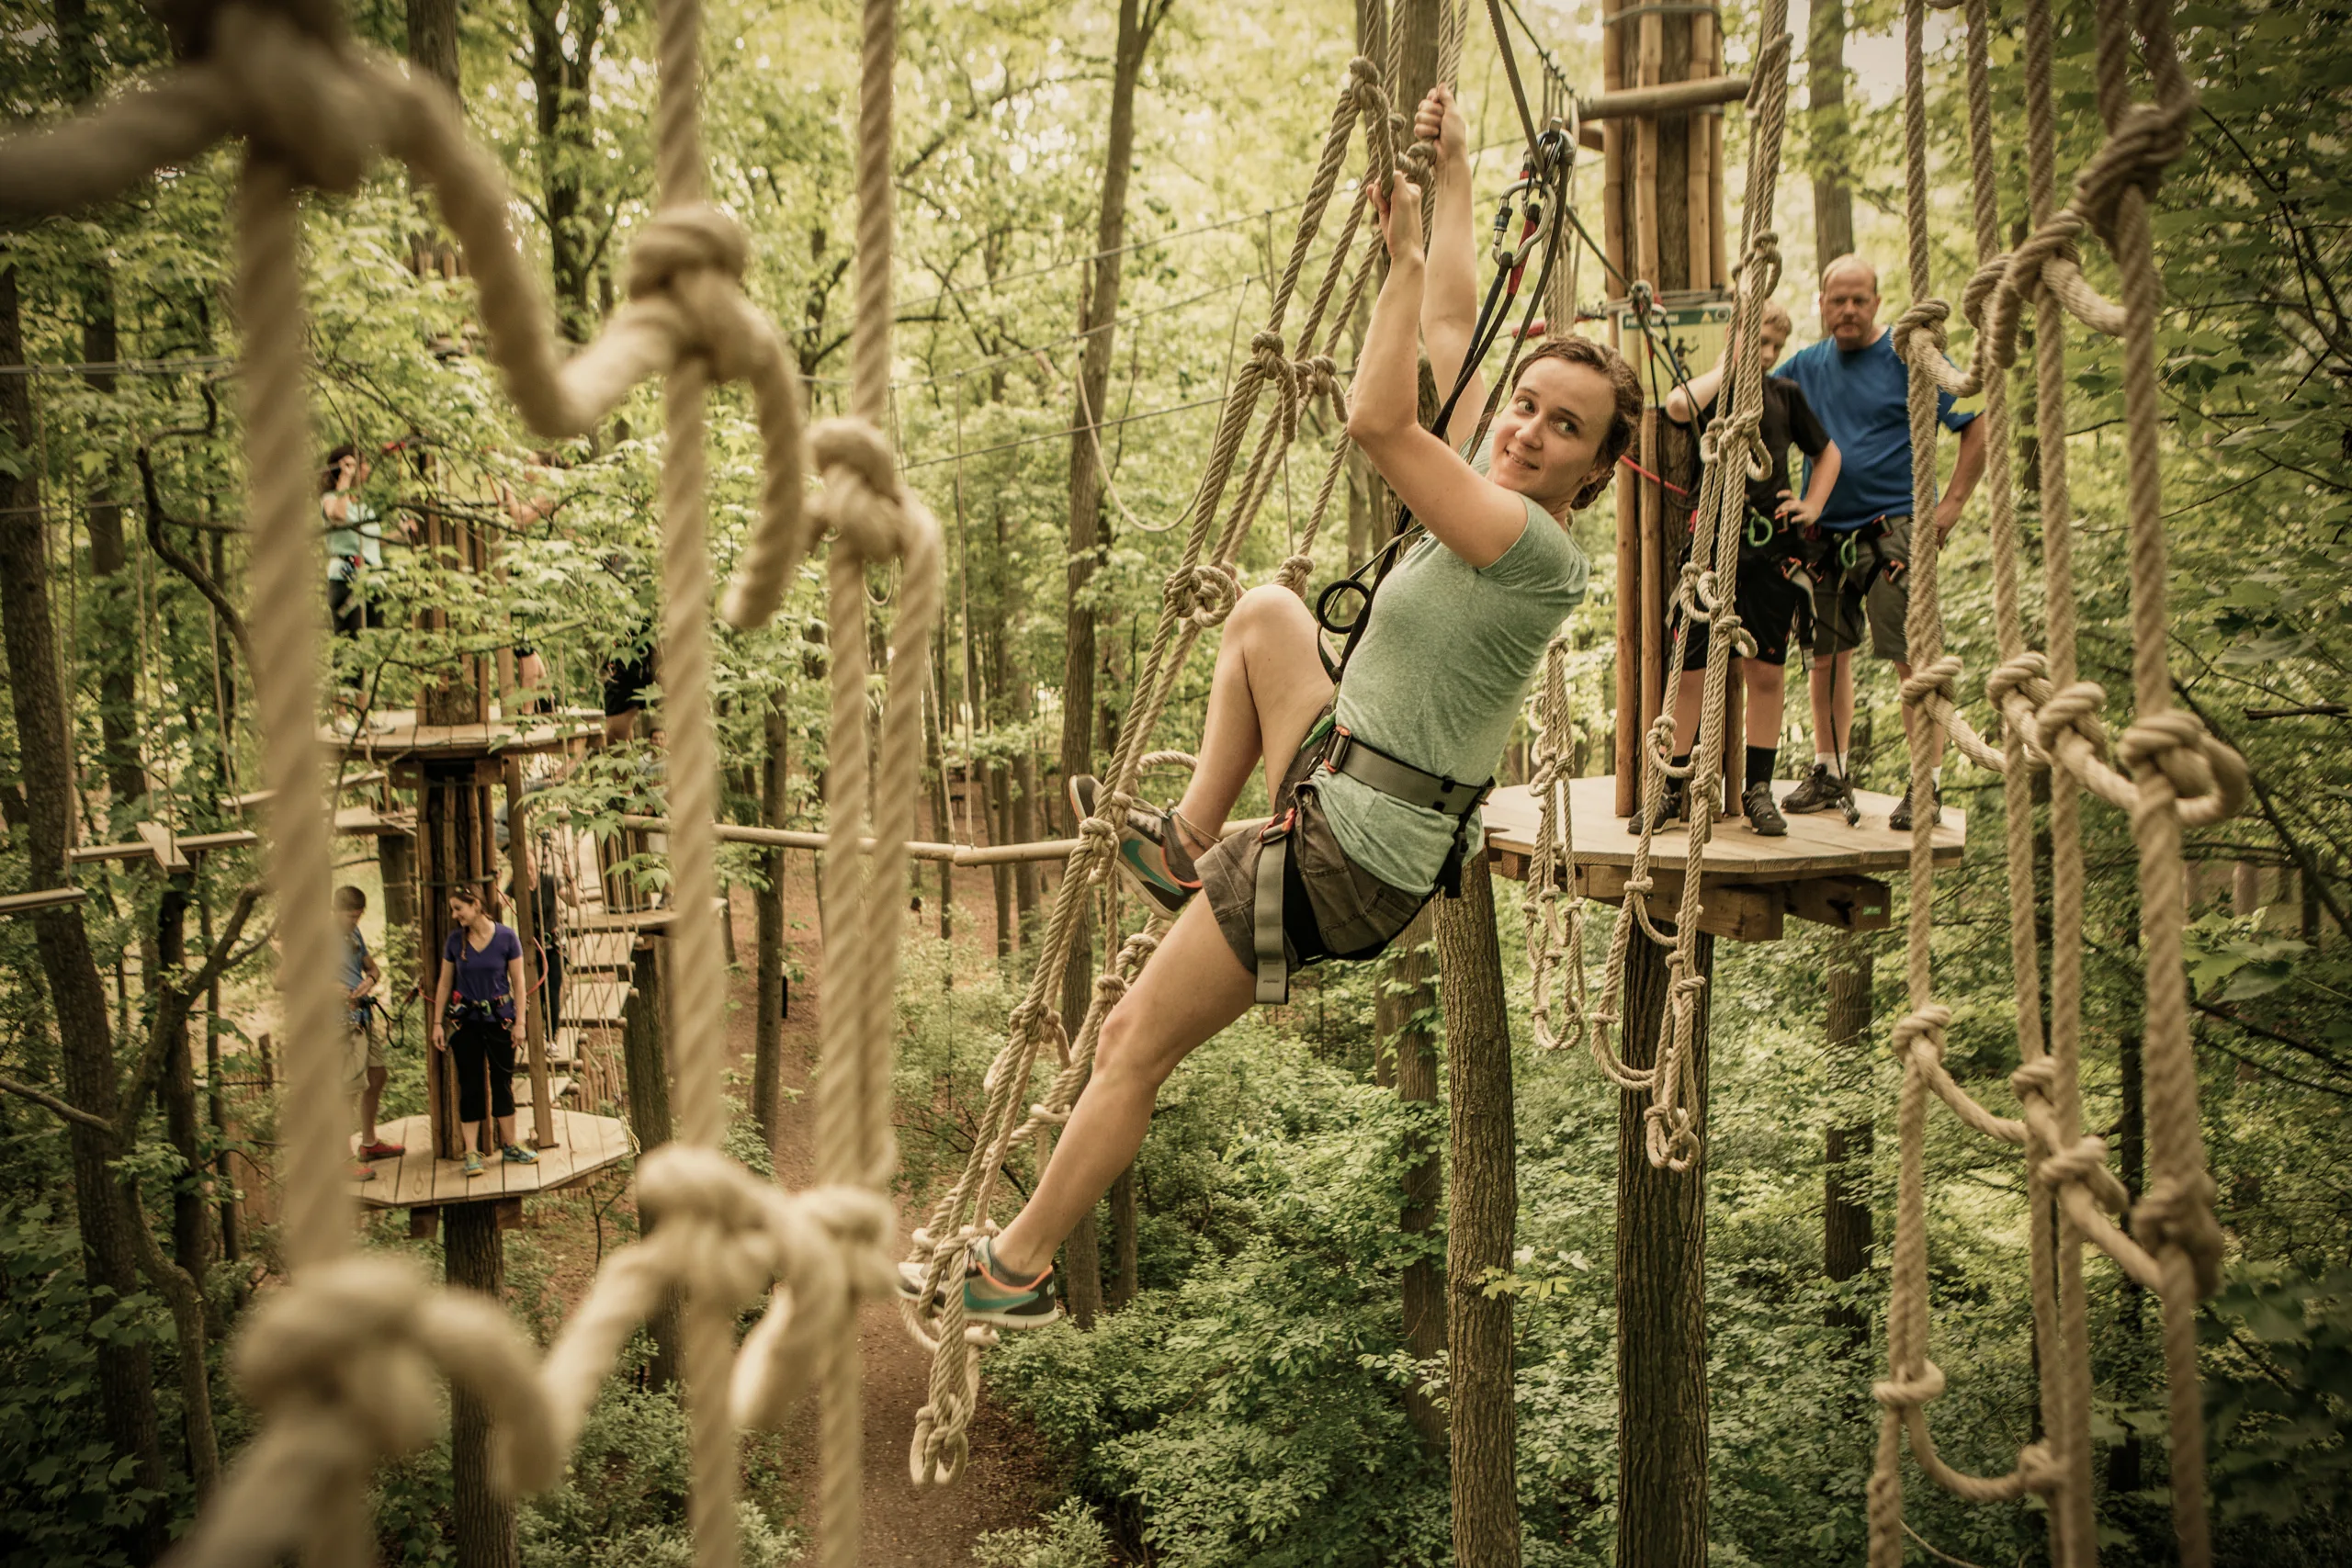
Step 5: Get Creative with Angles

Not every shot needs to be straight-on! Get creative and use different angles to achieve different photography effects.
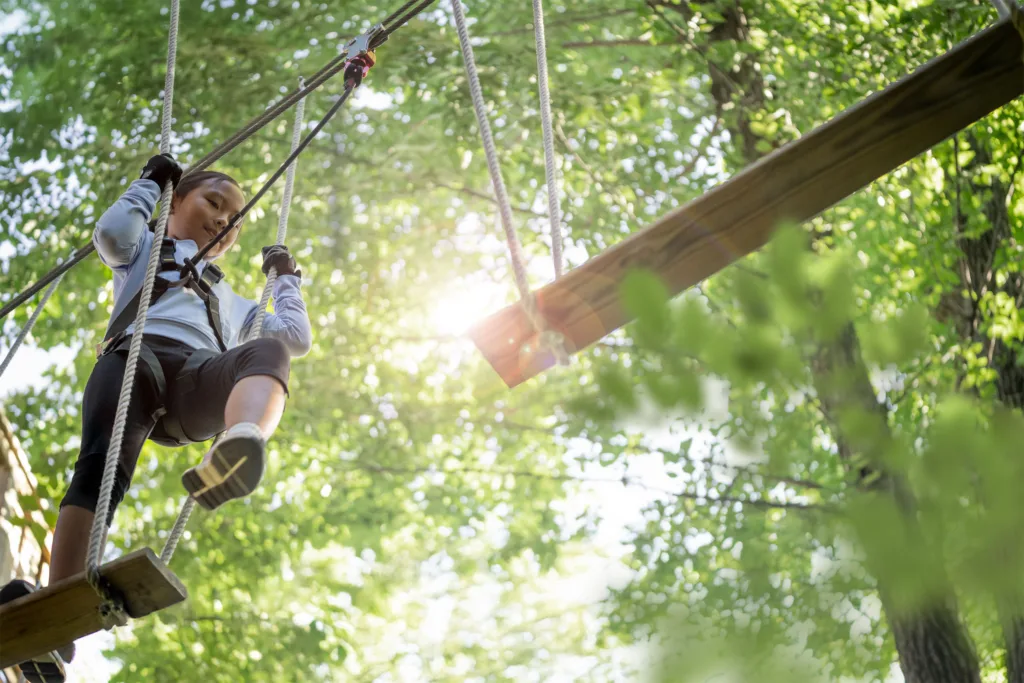
Shoot from below to make climbers look heroic!
Shoot from the side to show the epic height up in the trees.
Shoot from the front to capture the emotion on your friend’s face!
Use ropes & trees as framing elements.
Step 6: Tell the Full Story (Not Just the Zipline)
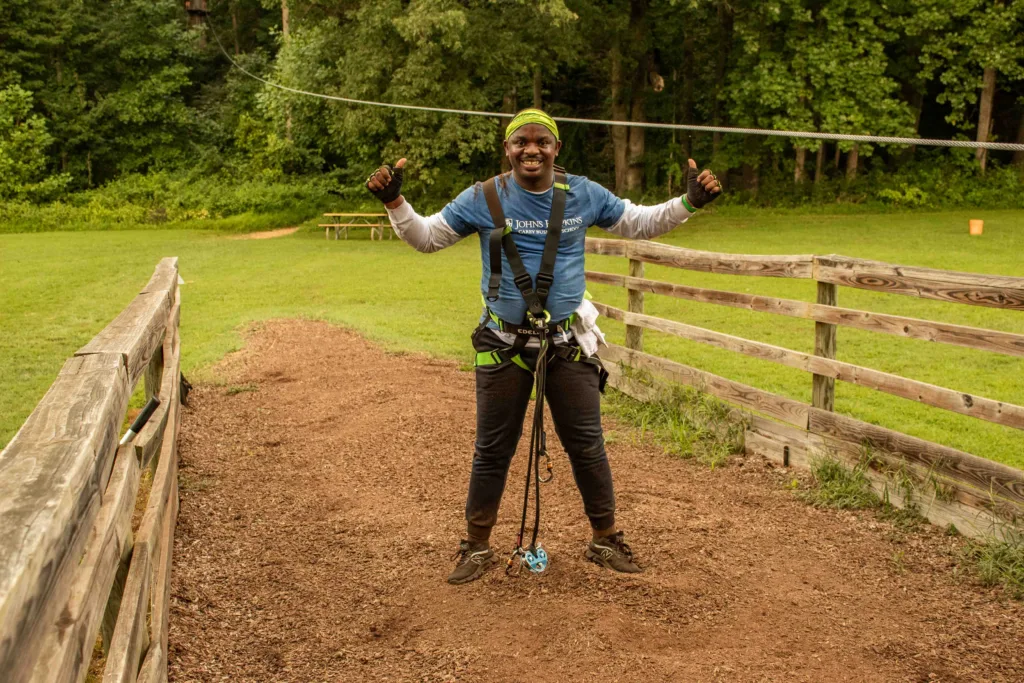
Don’t forget to document every step of your journey! Each part leading up to your treetop adventure is an adventure in itself. Capture these moments for that extra special touch:
- Harnessing up
- Safety briefing
- Team high-fives
- Suspended bridges
- Ground laughs after an epic zipline
Every good adventure album tells a story – one of the nerves and jitters before your adventure and confidence at the end!
Step 7: Editing for That “Adventure Magazine” Look

Strong camera settings and smart framing make the biggest difference, but editing can add that special sauce at the end. Here are some tips for some natural photo editing for outdoor photos on your smartphone:
- Slightly increase contrast, warmth, and clarity
- Slightly reduce highlights
- Avoid heavy filters
- Crop as needed
These tips will help your photos go from amateur to adventurer in no time!
Bonus Section: Best Instagram-Worthy Spots
If you’ve read this far, you deserve some insider secrets! Here are our favorite photo spots in our forests:
- Platforms overlooking the forest canopy on your treetop adventure
- Your squad going down the longest ziplines
- Wide shots from the ground looking up at your squad in the trees
- Group photo at the Go Ape cabin
- “We Did It” photo at the Celebration Station
Climb. Capture. Repeat.
By putting safety first, prepping your camera before your adventure, adjusting your settings for epic zipline photos, and editing your photos like a pro, you’ll end your adventure with memories and impressively professional pictures to remember them by! Book your adventure at Go Ape USA today (don’t forget your phone holder!) and tag @GoApeUSA when you post your epic adventure photography!
Adventure Photography FAQs
Can you bring your phone on a Go Ape course?
Yes! with a Go Ape phone holder to comply with our empty pockets policy.
What’s the best way to take zipline photos safely?
Use a secured phone holder and burst mode for action shots.
Do I need a GoPro at Go Ape USA?
No – modern smartphones are more than capable of capturing professional-looking action photos!
About Go Ape
Go Ape believes in creating spaces where people of all ages and abilities can escape the ordinary, rediscover their courage, and embrace the thrill of discovery. Here, in the treetops or along scenic paths, lifelong bonds are forged, confidence is renewed, and laughter echoes through the canopy. Go Ape isn’t just an activity; it’s a movement to reconnect with what truly matters: people, place, and purpose.
Go Ape isn’t just an activity. It’s a movement to reconnect with what truly matters: people, place, and purpose. Let’s rise above together. Visit goape.com.
Find Your Go Ape location:
- Arlington-Dallas, Texas
- Plano, Texas
- Houston-Sugarland, Texas
- Williamsburg, Virginia
- Raleigh-Durham, North Carolina
- Memphis, Tennessee
- Bear, Delaware
- Chicago, Illinois
- Indianapolis, Indiana
- Ocean City, Maryland
- Rockville, Maryland
- Kansas City, Missouri
- St. Louis, Missouri
- Omaha-Lincoln, Nebraska
- Cleveland, Ohio
- Springfield, Virginia (Washington DC)